
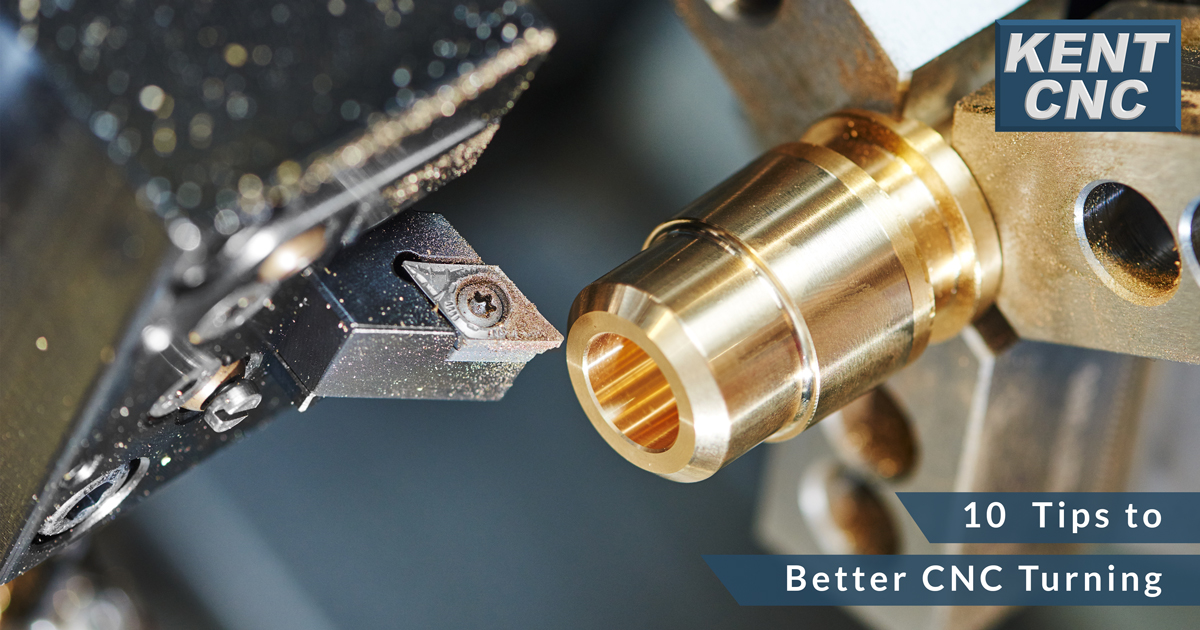
10 Tips to Better CNC Turning
No shop wants to see their part ruined and scrapped at the end of CNC turning. And although having a combination of proper technique and the right tools to keep jobs in spec and on time, there are other variables that should be considered before arriving at the finishing stage. Here are some things you can do that will help you get the best surface finish:
- Increase Your Speed
This really applies most when using carbide tools. When you increase the surface feet per minute speed (SFM), you will ensure that the material is in contact with the tool tip for a shorter amount of time and will also reduce edge buildup on the tool, which causes poor surface finishes.
- Reduce Your Feed Rate
Reducing the feed rate helps to improve surface finish. This will also help to reduce flank wear and prolong the insert’s longevity. In addition, doubling the nose radius will help to improve surface finish. For roughing applications, it’s best to use a tool capable of a high feed rate to remove material quickly. For finishing, it’s best to have a lower feed rate and shallower cut.
- Increase the Top Rake Angle
Positive rake angles will lead to a finer surface finish, requiring lower cutting forces. Using a 45° cutter will act downward, possibly making the part flex. As a result, this will cause the back half of the cutter to recut the machined part and create a poor surface finish. Using a 90° cutter will create cutting forces parallel to the part and will not flex it. This will produce a smoother surface finish.
- Use a Chip Breaker
A poor surface finish can also be caused by improper chip breaking, downtime to remove chips and higher temperatures at the tool’s cutting edge. A chip breaker can produce smaller chips that are cleared from the cutting area quickly. And because there is no longer a need to clear chips by hand, safety is improved.
If the chip breaker can break the chips into adequate lengths, then vibration will be minimized; the chips will not wrap around the workpiece and tools will not be damaged. Chip breakers also reduce cutting resistance, which can avoid chipping or breaking the cutting edge. A lower cutting resistance can decrease heat and delay tool wear.
- Use a Large Nose Radius
The idea is to use a larger nose radius and decrease the feed rate to get a smoother, finer surface finish. This is because the nose radius and depth of cut affects the shape and direction of chips. Therefore, it’s best to use the largest radius possible to achieve the best surface finish and avoid creating chatter (machine vibration). But, on the other hand, a larger nose radius will increase demands on the tool, causing vibration and poor chip breaking, whereas a smaller nose radius produces thinner chips that are easier to clear away from the workpiece, but this will also limit the feed rate.
Here’s a tip: Select a minimum depth of cut two thirds of the nose radius and a maximum of one third of the cutting edge length. For finishing, select cutting depths of less than one third of the nose radius.
- Use an Insert with a Wiper
To ensure a good surface finish, use a special wiper insert that has a modified nose radius with larger corners to wipe the surface smooth. This will allow you to cut at a faster feed rate.
- Use the Right Technique
Creating a chip that is thick-to-thin is what you want. Your technique plays a vital role in getting smooth surface finishes. Choose a cutter that is smaller than the nose radius so you can program it for a smooth transition from line-to-line.
When you run your final cuts, don’t just limit yourself to checking your workpiece; you should also read your chips. The characteristics of your chips will indicate what machining set up or tooling adjustments are necessary.
- Use Different Tools for Roughing and Finishing
Some may say that the same inserts can be used for both roughing and finishing. But it’s best to use separate inserts, one for roughing and one for finishing. For roughing, you can use a course-pitch cutter with a large nose radius, and a large rake angle with a rapid feed rate. For finishing, you can use a fine-pitch finishing tool with the proper lead angle and a wiper flat, which will give you a better surface finish.
- Clear the Chips
There is a debate whether to use coolant in milling applications. But it all depends on the type of work you’re doing, such as deep cavity milling, the type of material and which insert you are using. Using coolant, in some cases, should be avoided. It may cause thermal cracking and shorten tool life and could affect the surface finish negatively. But with aluminum, low-carbon steel or nickel-based alloys, using coolant will prevent the tool from sticking to the workpiece.
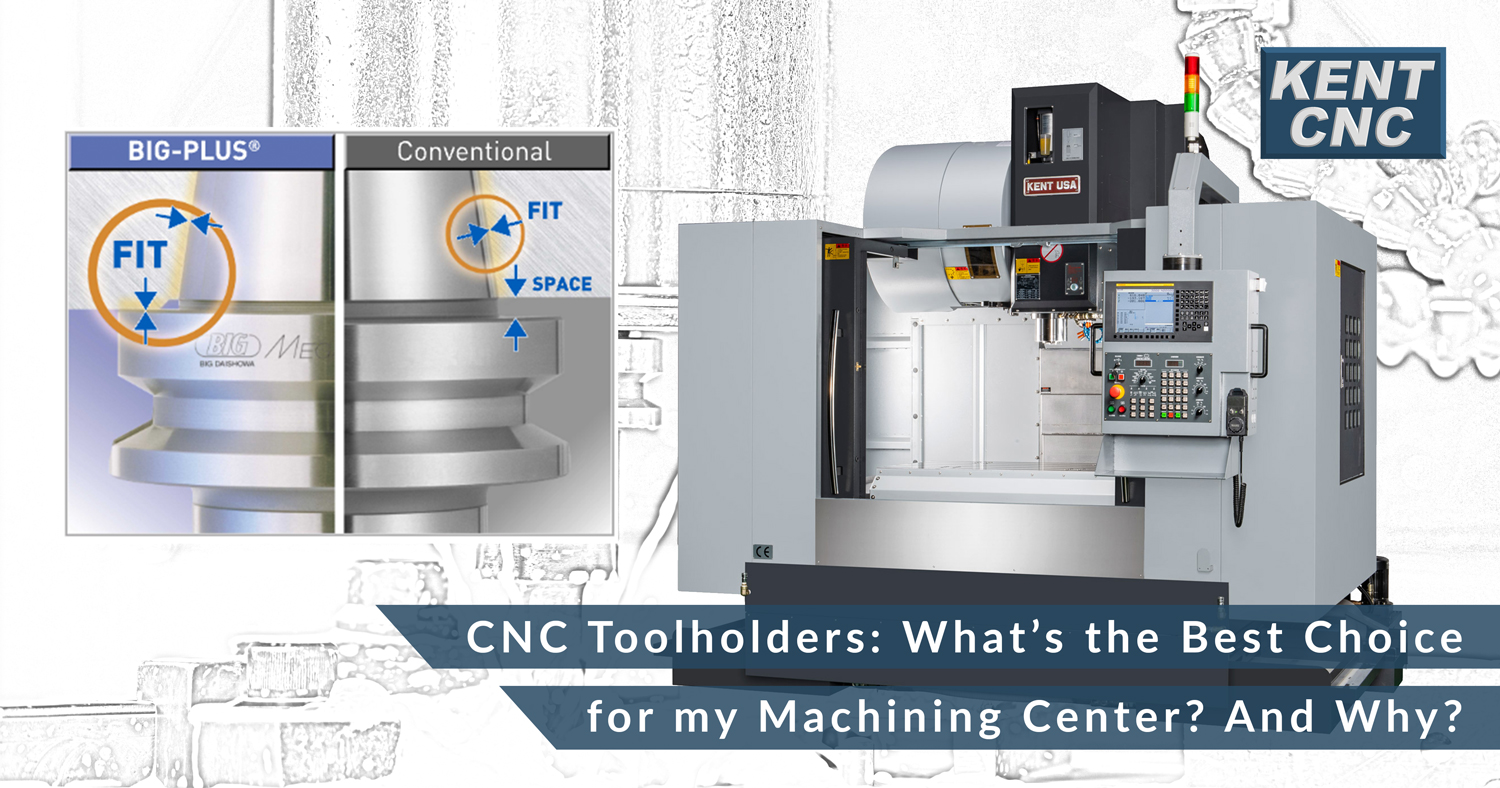
- Check Your Toolholding and Workholding
It’s a good idea to check the condition of your toolholder. An old, worn-out toolholder may cause the insert to move. This will cause chatter and will negatively affect the surface finish of your part. You also want a rigid workholding that is stable, especially with a higher metal removal rate.
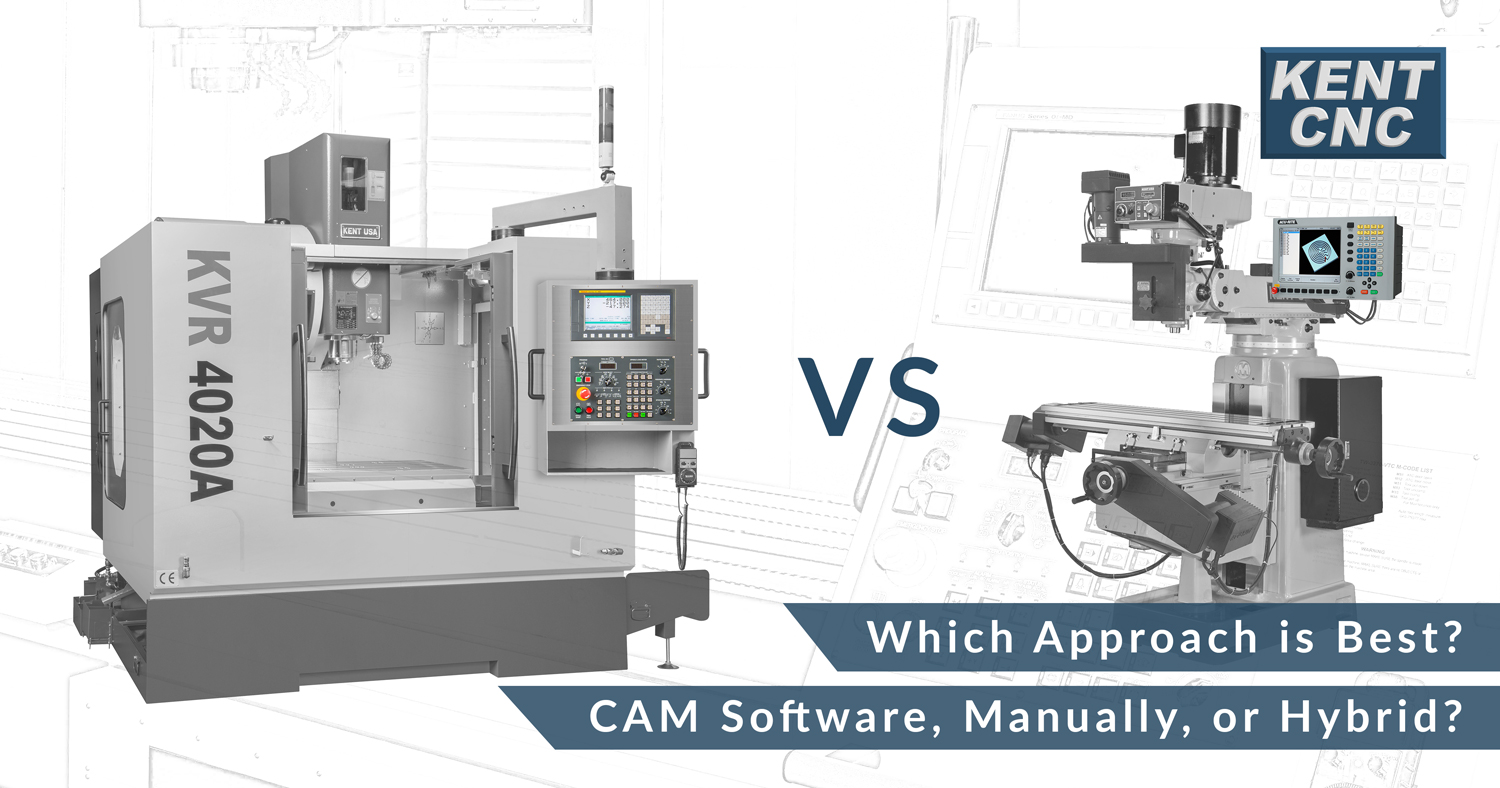
Kent CNC turning centers are made of high-grade components and cast iron material for maximum rigidity. Our machines meet the demands for both accuracy and flexibility.
Visit us at: www.kentcnc.com.


